· blog · 3 min read
Crafting a Sleek Desktop Application with React, Tauri, Vite, and TypeScript
In this guide, we'll walk through the process of creating a simple yet robust desktop application using a powerful stack: React, Tauri, Vite, and TypeScript.

Welcome to the world of modern desktop application development! In this guide, we’ll walk through the process of creating a simple yet robust desktop application using a powerful stack: React, Tauri, Vite, and TypeScript. We’ll ensure our app is set up correctly from the get-go, including adjusting settings for packaging and distribution. Let’s dive in!
Prerequisites:
- Node.js (LTS version)
- Visual Studio Code or another IDE with TypeScript support
- Basic knowledge of React and TypeScript
Step 1: Install Rust and Cargo
Tauri is a framework for building desktop applications with web frontends that relies on Rust. Here’s how to install Rust and its package manager, Cargo:
Download and Install Rust: Visit the Rust install page and follow the instructions for your operating system. On Unix-like OS, you can usually install Rust with the following command:
curl --proto '=https' --tlsv1.2 -sSf https://sh.rustup.rs | shOn Windows, download and run the
rustup-init.exefrom the same page.Update Rust Toolchain: To ensure you’re using the latest version, update the toolchain:
rustup updateVerify the Installation: Confirm that Rust and Cargo are installed:
rustc --version
cargo --version
Step 2: Scaffold the React + TypeScript Project with Vite
Next, create a new React project using Vite and TypeScript:
npm create vite@latest my-tauri-app -- --template react-ts
cd my-tauri-app
Step 3: Install Project Dependencies
Install the npm dependencies that come with the template:
npm installStep 4: Initialize Tauri
Now, let’s add Tauri to your project:
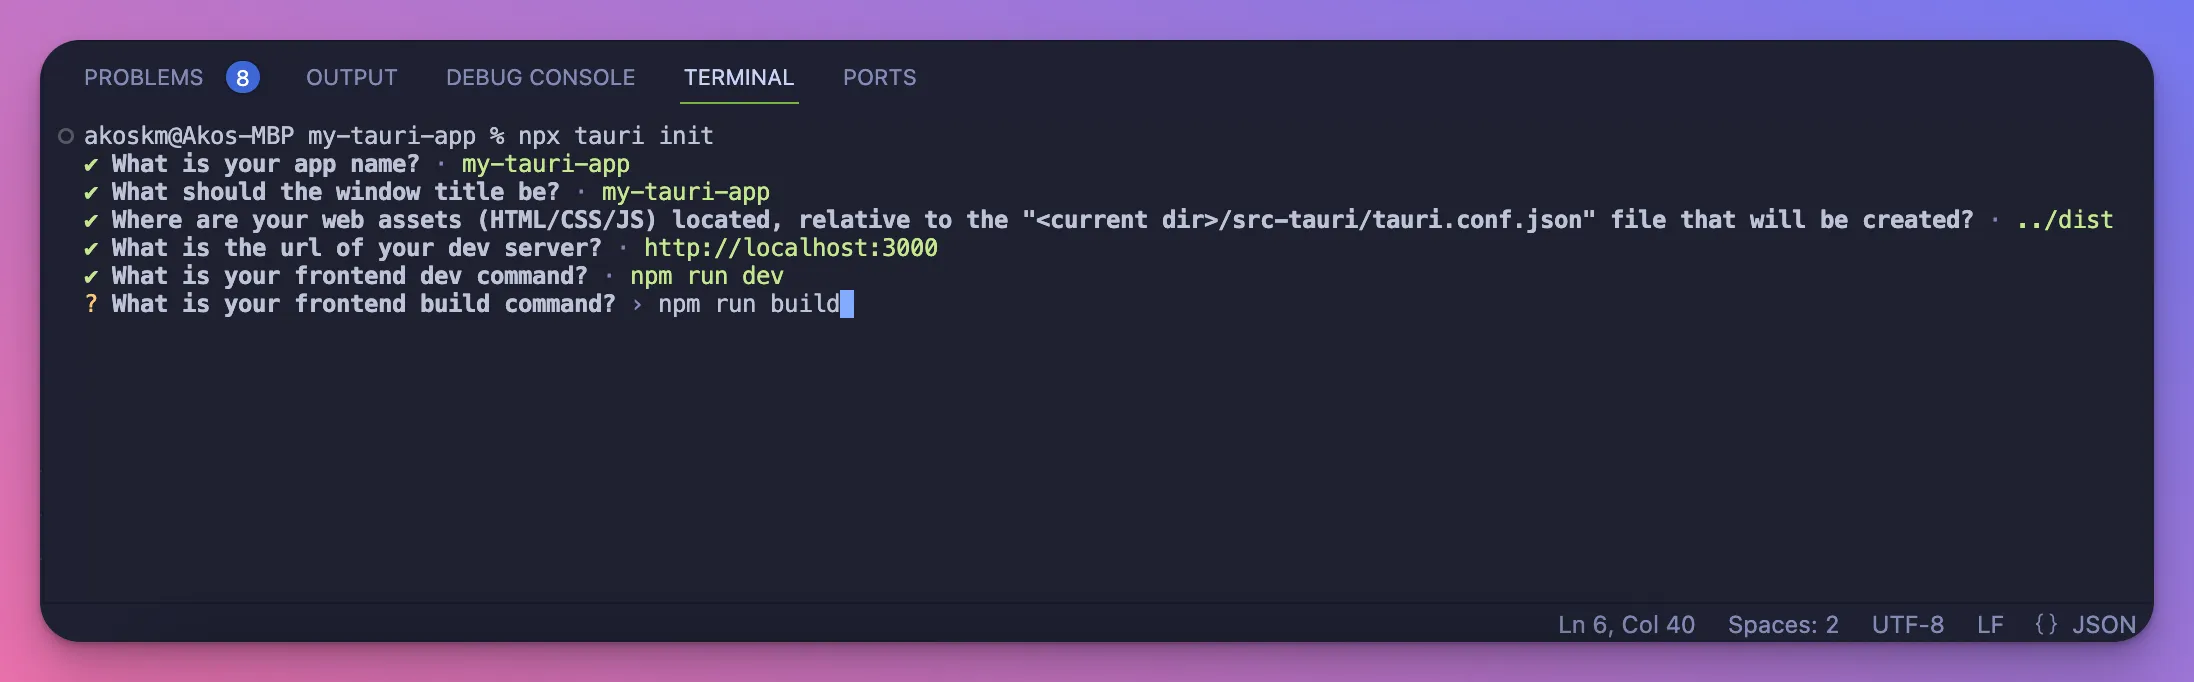
npm install @tauri-apps/cli
npx tauri init
Ensure you are in the root directory of your React project and follow the instructions in the terminal.
Step 5: Configure Vite to Use Port 3000
Modify Vite’s configuration to use port 3000. In the vite.config.ts file:
import { defineConfig } from 'vite';
import react from '@vitejs/plugin-react';

// https://vitejs.dev/config/
export default defineConfig({
  plugins: [react()],
  server: {
    port: 3000,
  },
});
Step 6: Run the Development Server
To check your React app, start Vite’s development server:
npm run devYour app will be available at http://localhost:3000.
Step 7: Configure Tauri Settings
Before building and packaging the app, adjust Tauri’s settings to suit our project’s structure:
Set a Unique Bundle Identifier: Edit the
src-tauri/tauri.conf.jsonfile:"tauri": { "bundle": { "identifier": "com.innotek.myapp" }, // other configurations... }Point to the Correct Dist Directory: Still in
tauri.conf.json, update the build’s dist directory to Vite’s output:"build": { "distDir": "../dist" },
Step 8: Launch the app with Tauri
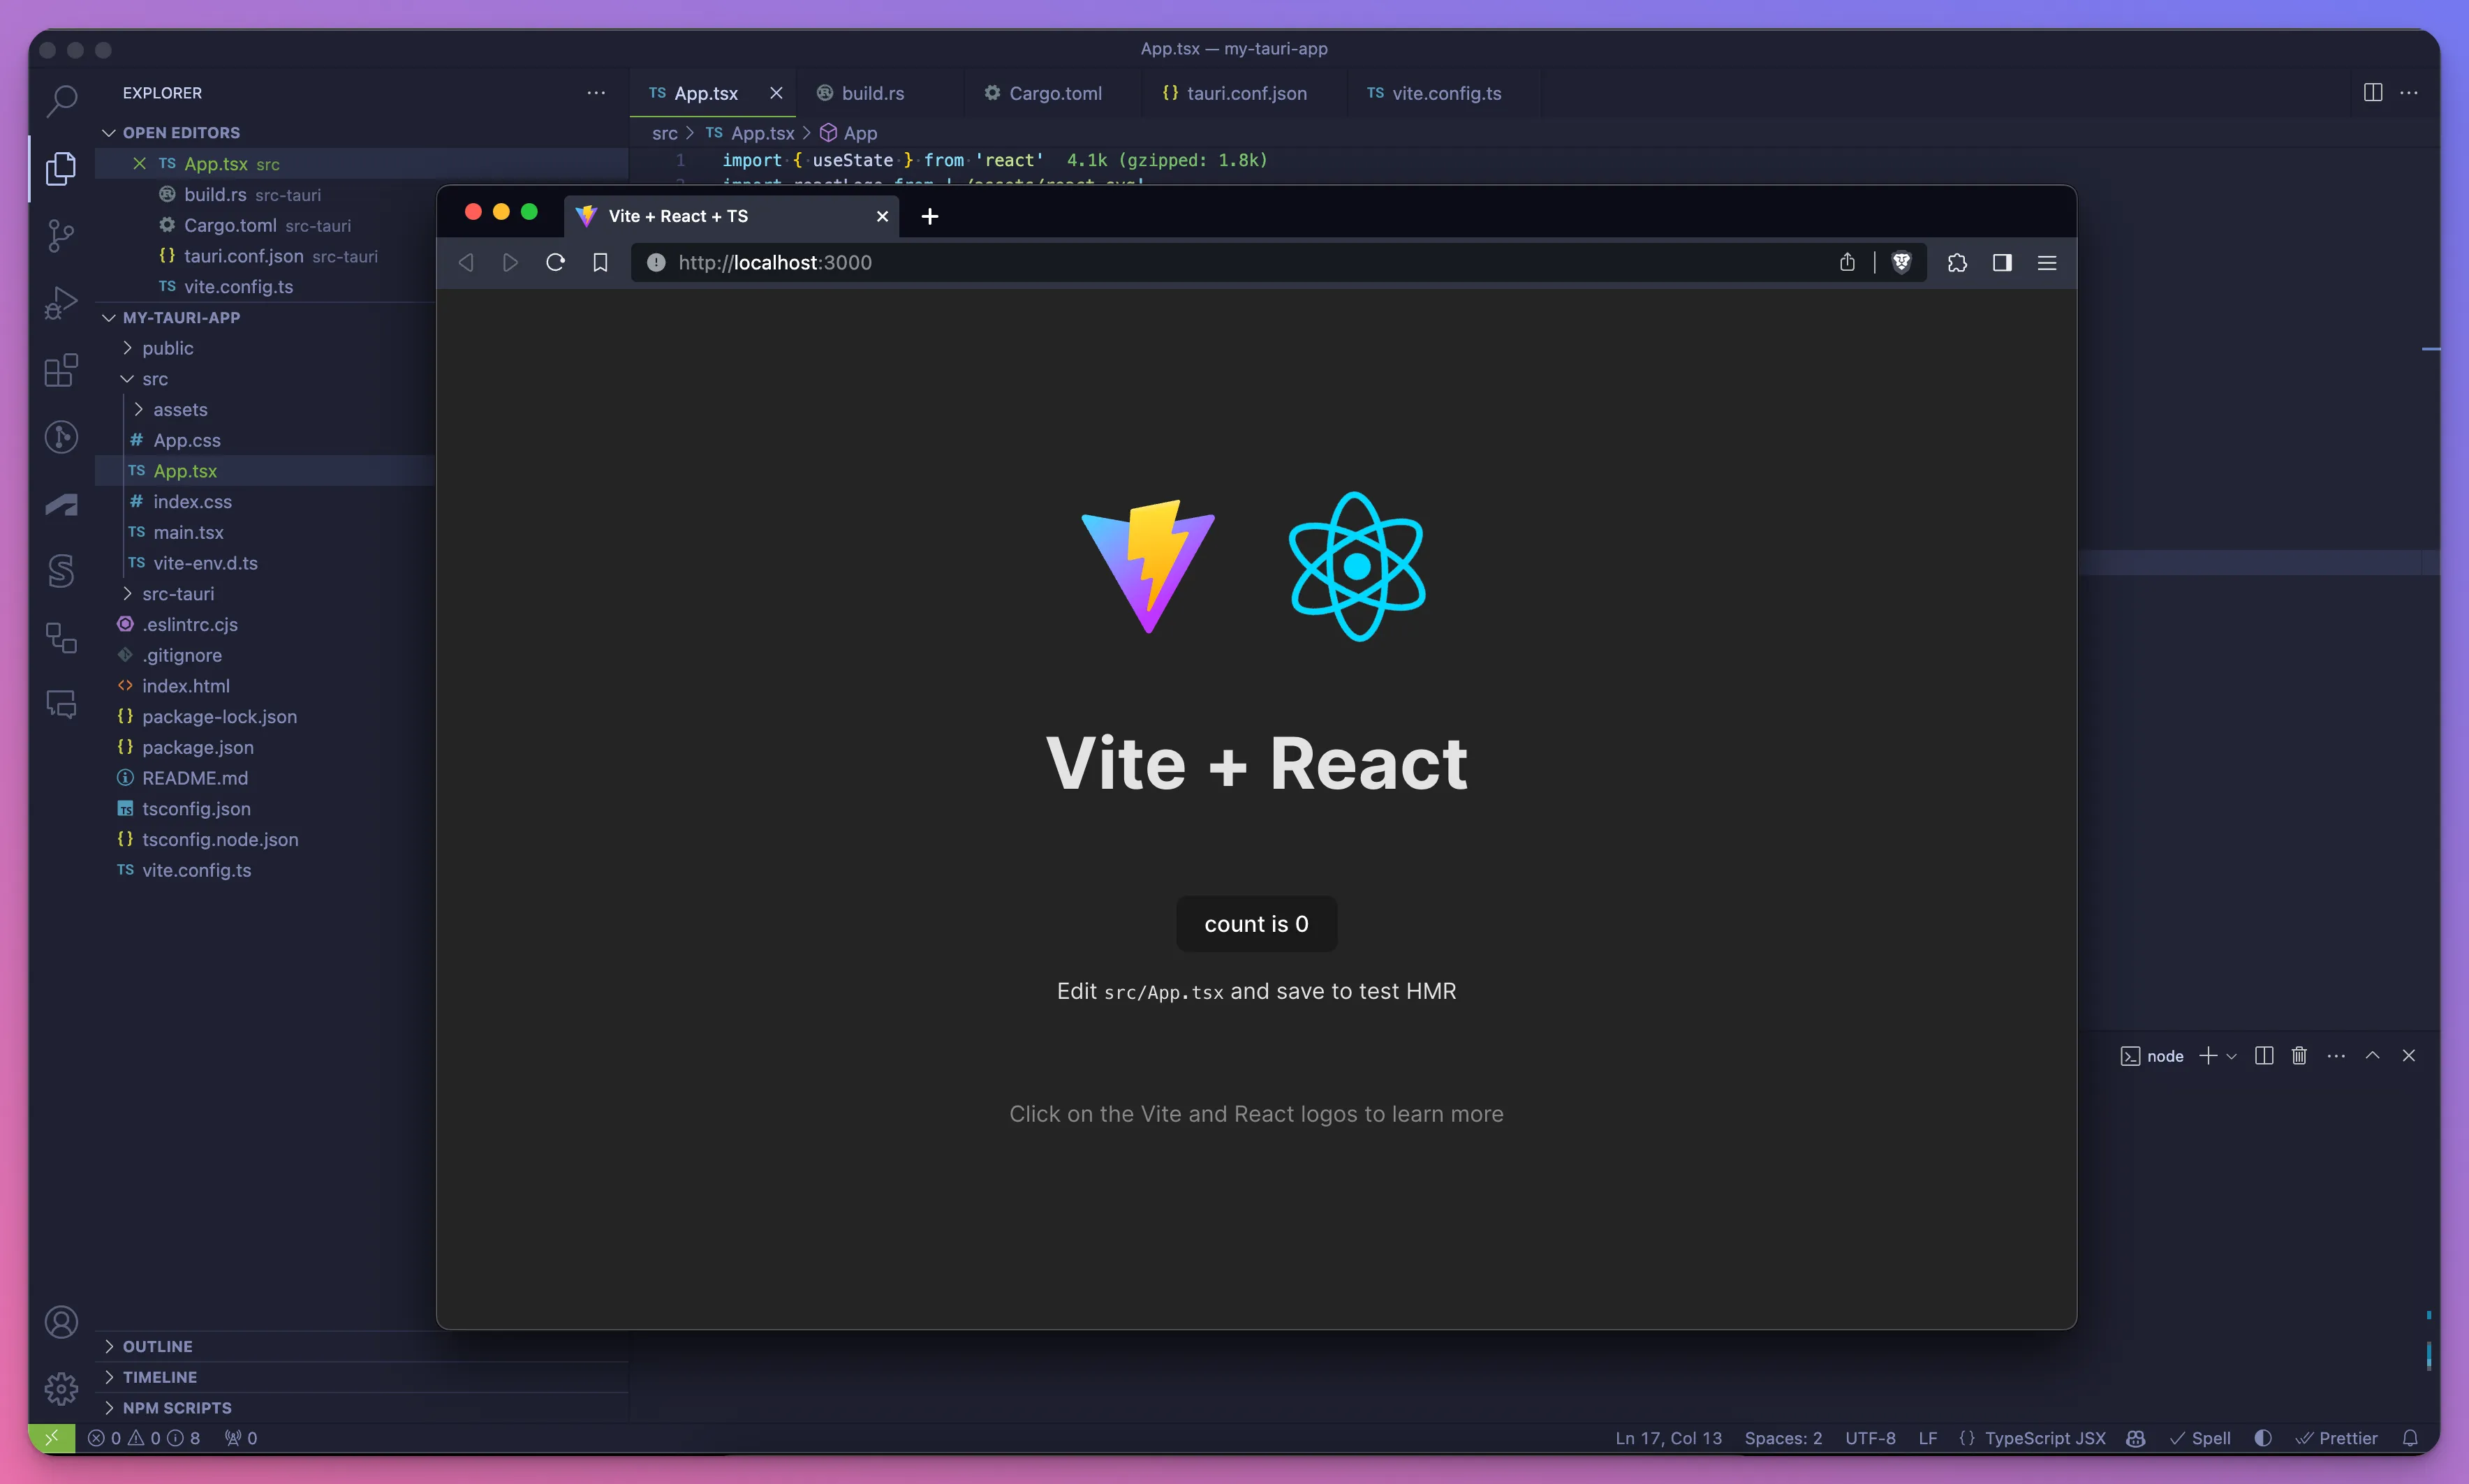
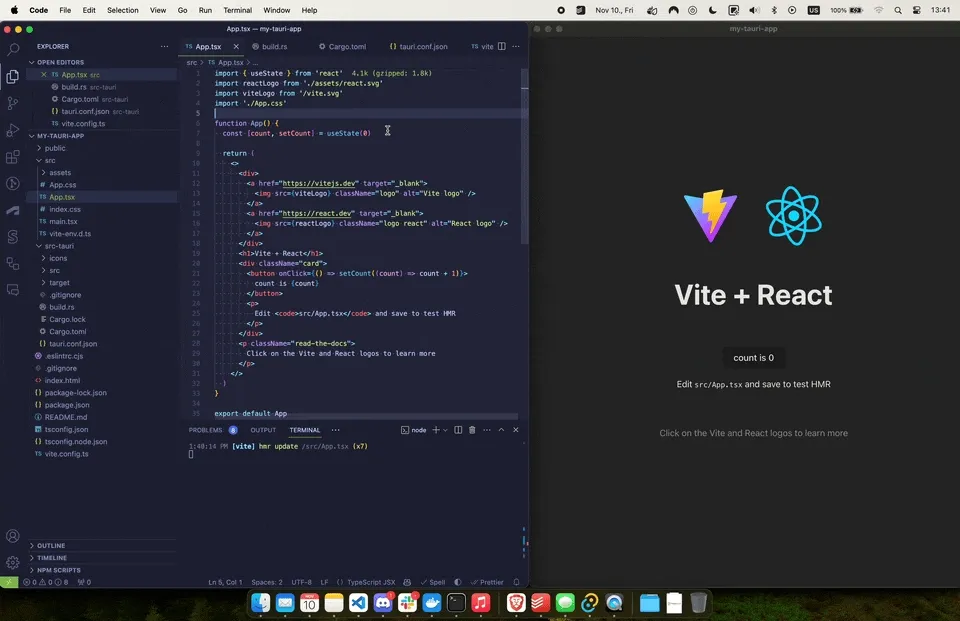
Compile your React app and launch it within a Tauri window:
npm run build
npx tauri dev
You’ll see Vite’s default App component but now inside a native window! Hot Module Reload also works here so any change you make to App.tsx will be immediately reflected in the Tauri window.
Step 10: Package Your Application
Finally, package your application into a distributable format:
npx tauri buildThe output will be in src-tauri/target/release/bundle/.
Conclusion
You’ve just built a sleek, type-safe desktop application using React, Tauri, Vite, and TypeScript! This combination offers a modern approach to developing lightweight, cross-platform desktop applications that are maintainable and secure.
To further refine your app, consider incorporating state management tools, and delve into Tauri’s advanced features such as update handling and system tray integration.
We hope this tutorial sets you up for success in your desktop app development journey. Have fun coding!
If you need a ready-to-use starter template, check out our my-tauri-app repository.
Further Learning:
Here are some resources for a deeper dive:
Feedback and Questions:
We’d love to hear your thoughts on this tutorial. Reach out with questions or feedback through our website or leave a comment on our LinkedIn post.