· blog · 4 min read
Integrating Next.js and OpenAI for a Dynamic Web Application
In the realm of web development, integrating diverse technologies to create seamless and efficient applications is key. This blog post will guide you through setting up a Next.js application that sends prompts to OpenAI's GPT-3 API.

Introduction
In this post, we’ll create a user interface with a single text input where users can submit prompts to OpenAI. For brevity, we’ll assume you’ve already set up Node.js and will start directly from npm installations.
Starting with Next.js and TypeScript
First, let’s set up our Next.js application with TypeScript support. Ensure you have a basic understanding of Next.js App Router before proceeding.
- Create a Next.js App: In your terminal, execute the following command to create a new Next.js app:
npx create-next-app@latest nextjs-openai --ts --eslint --tailwind --appReplace nextjs-openai with your preferred project name. Select No when asked if you want to use the src/ directory since we’ll use the app/ directory instead. The above command automatically sets up TypeScript, ESLint, and TailwindCSS for your project, including generating a tsconfig.json file. Verify its presence in your project directory.
- Set the OpenAI API Key
To make calls to OpenAI’s API, you must set your API key as an environment variable. You can obtain your API key from the OpenAI dashboard.
Once you have this, change the current directory to your project directory:
cd nextjs-openaiThen, create a .env file with the following contents:
OPENAI_API_KEY=<your open ai key>And finally, install the OpenAI SDK:
npm i openaiImplementing a REST API in Next.js
Next.js App Router allows us to implement API routes, which we will use to interact with OpenAI’s API.
- Create an API Route:
- Create a file named
route.tsunderapp/api/send-prompt/. - This file will export an async function named POST that handles the requests. The naming is essential, as Next.js will automatically route
POST /api/send-promptrequests to this function.
- Implementing the API Endpoint (
app/api/send-prompt/route.ts):
import { NextResponse } from "next/server";
import OpenAI from "openai";

const openai = new OpenAI({
  apiKey: process.env.OPENAI_API_KEY,
});

export async function POST(req: Request) {
  try {
    const body = await req.json();
    const prompt = body.prompt;
    const params: OpenAI.Chat.ChatCompletionCreateParams = {
      messages: [{ role: "user", content: prompt }],
      model: "gpt-3.5-turbo",
    };
    const chatCompletion: OpenAI.Chat.ChatCompletion =
      await openai.chat.completions.create(params);
    const response = {
      response: chatCompletion?.choices[0].message.content?.trim(),
    };
    return NextResponse.json(response);
  } catch (error) {
    return NextResponse.error();
  }
}
The above code consists of three core steps:
- Constructing the request to OpenAI: The request consists of the prompt entered by the user and the model to use. In this case, we use the
gpt-3.5-turbomodel, a fast and efficient version of the GPT-3 model. - Creating a chat completion: We use the OpenAI SDK to start a chat completion using
paramswe created. - Handling the response: The previous step returns a
ChatCompletionobject, which we use to extract the response and return its contents to the user.
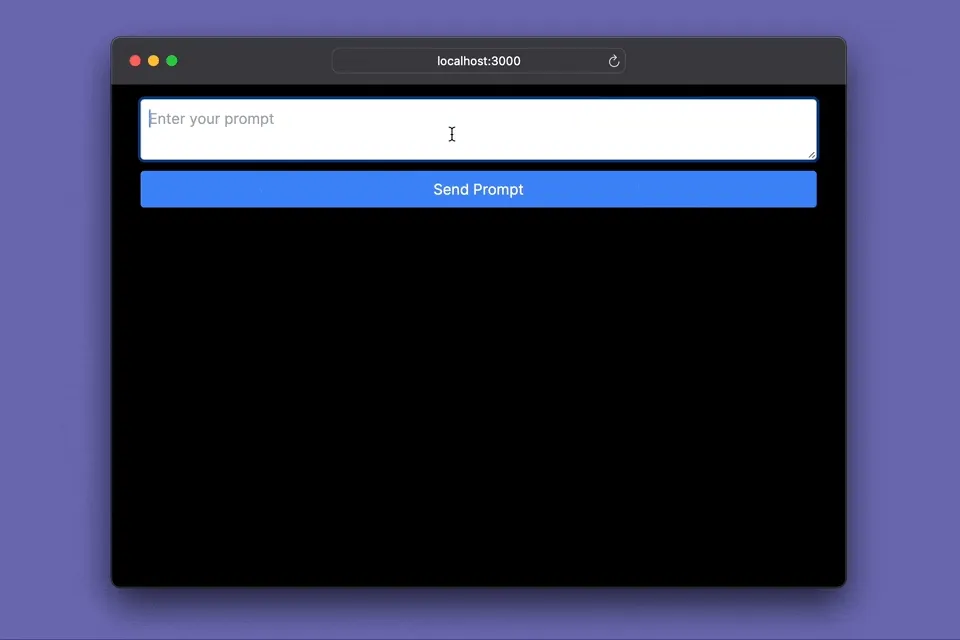
Building the UI
Let’s create a simple UI that consists of a text input and a submit button to send prompts to our backend.
- Main Page In
app/page.tsx, create a form with a text input and a button. Use TailwindCSS for styling:
"use client"

import { useState } from 'react';

export default function Home() {
  const [prompt, setPrompt] = useState('');
  const [response, setResponse] = useState('');
  const [isLoading, setIsLoading] = useState(false);

  const handleSubmit = async (e) => {
    e.preventDefault();
    setIsLoading(true);
    // API call will be implemented here
  };

  return (
    <div className="container mx-auto p-4">
      <form onSubmit={handleSubmit} className="flex flex-col gap-3">
        <textarea
          className="p-2 border border-gray-300 rounded text-gray-700"
          placeholder="Enter your prompt"
          value={prompt}
          onChange={(e) => setPrompt(e.target.value)}
        ></textarea>
        <button
          type="submit"
          className="bg-blue-500 text-white p-2 rounded hover:bg-blue-600"
          disabled={isLoading}
        >
          {isLoading ? "Sending..." : "Send Prompt"}
        </button>
      </form>
      {response && (
        <div className="mt-4 p-4 border border-gray-300 rounded">
          <p>{response}</p>
        </div>
      )}
    </div>
  );
}
This code creates a form with a textarea for the prompt and a button to submit it. It also includes a section to display the response from the backend.
- Implementing the API Call
In the handleSubmit function, use the fetch API to send the prompt to the REST API endpoint and handle the response:
  const handleSubmit = async (e) => {
    e.preventDefault();
    setIsLoading(true);
    try {
      const res = await fetch('/api/send-prompt', {
        method: 'POST',
        headers: {
          'Content-Type': 'application/json',
        },
        body: JSON.stringify({ prompt }),
      });
      if (res.ok) {
        const data = await res.json();
        setResponse(data.response);
      } else {
        throw new Error('Network response was not ok.');
      }
    } catch (error) {
      setResponse('Failed to fetch response.');
    }
    setIsLoading(false);
  };
This function sends the user’s prompt to the /api/send-prompt endpoint, waits for the response, and then updates the state to display it.
Interacting with OpenAI
Finally, run the app and test it out:
npm run devThe app should be running on http://localhost:3000.
Conclusion
This tutorial shows the fantastic work that the OpenAI team has done. Interaction with GTP models is now as easy as sending a POST request to a REST API endpoint.
But it’s your turn now! What will you build with this new power?